
Facebook Pixel

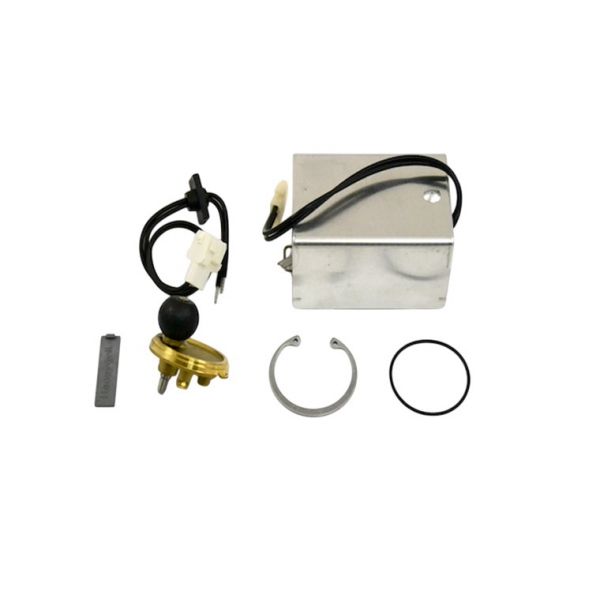
Resideo QVU8143A3231 N/C Rebuild Kit 1/2"-1" VU53

Special Price $132.96 Regular Price $152.91
In stock
SKU
QVU8143A3231
The Resideo QVU8143A3231 Rebuild Kit is used to service VU53 fan coil valves with valve sizes of 1/2" to 1". This kit is usedd in 2-position systems in which the valve is closed for most of the time. The repair kit also has rubber parts that are made up of Buna-N (NBR) which are known to be hard-wearing and have high endurance. It works at 24 VAC and can function in the temperature of 34°F-104°F. This kit enhances the performance of a particular system and also contributes to the durability of your HVAC equipment for better and more reliable performance and possibly cost savings.
Manufacturer:

https://www.partshnc.com/media/catalog/product/q/v/qvu8143a3231.jpg

Specifications

  • Type: Rebuild Kit
  • Application: 2-position
  • Valve Type: Fan Coil Valve
  • Usage: VU53 Normally Closed
  • Temperature Range: 34°F to 104°F
  • Voltage: 24 VAC
  • Valve Ball Material: Buna-N (NBR) Rubber
Manufacturer Name: Resideo
Product Number: QVU8143A3231
OEM Part Number: QVU8143A3231
Product Description: N/C Vu53 1/2"-1" Rebuild Kit
Weight:1.26lbs/571.53g

Choose the best HVAC equipment parts and supplies from PartsHnC!

  • Same Day Shipping

  • Best Quality And Best Price

  • Wide Range of Inventory

  • Best Customer Service

Have More Questions or Need Help to Place The Order?
Reach us at (866)773-0907 or [email protected]

Write Your Own Review
You're reviewing:Resideo QVU8143A3231 N/C Rebuild Kit 1/2"-1" VU53
Your Rating
Customer Questions
What maintenance is required for the Resideo QVU8143A3231 Rebuild Kit?

Regularly inspect seals, O-rings, and components for wear or damage. Clean parts gently before reassembly and lubricate as needed. Proper maintenance ensures a tight seal, prevents leaks, and maintains consistent valve performance.

What are common issues with the Resideo QVU8143A3231 Rebuild Kit?

  • Leaks due to worn seals or O-rings.
  • Difficulty achieving proper valve closure.
  • Component misalignment during assembly.
  • Reduced flow efficiency.

Installation Steps

Step 1: Shut off power and isolate the HVAC/hydronic system, then depressurize.

Step 2: Remove the valve actuator and carefully disassemble the valve body.

Step 3: Replace seals, piston, and gasket components from the rebuild kit, ensuring correct seating.

Step 4: Reassemble the valve and tighten to specified torque.

Step 5: Restore system pressure, check for leaks, and test valve operation.