Facebook Pixel

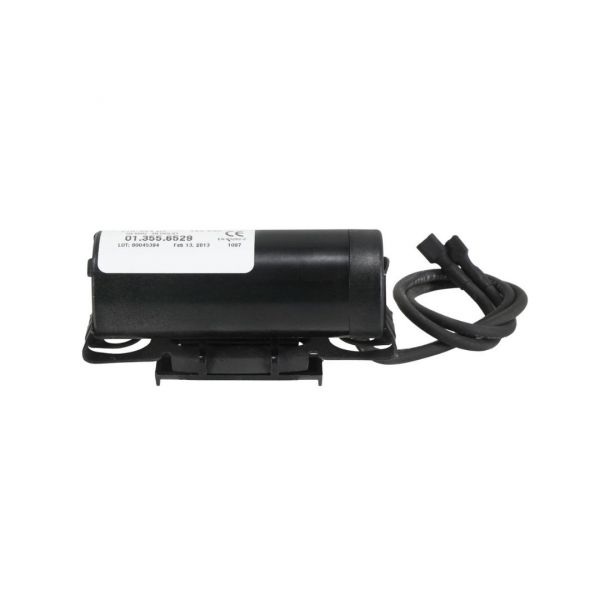
Nidec-Embraco 513556529-ESP Start Capacitor 270-324 MFD 165V

Special Price $41.79 Regular Price $54.33
In stock
SKU
513556529-ESP
The Nidec-Embraco 513556529-ESP Start Capacitor provides temporary electrical energy to a compressor motor during startup, increasing the torque available for initial rotation. Its 270-324 MFD capacitance and 165V rating correspond to the specified starting circuit, where the capacitor stores charge before releasing it during energization. Connected to the motor circuit, it contributes additional starting power in HVAC systems until the compressor reaches operating speed. The electrical control arrangement then removes the capacitor from the starting circuit. This timed energy release provides the motor with the required starting current during the compressor startup sequence.
Manufacturer:

https://www.partshnc.com/media/catalog/product/5/1/513556529-esp.jpg

Specifications

  • Type: Start Capacitor
  • Voltage: 165V
  • Capacity: 270-324 MFD
Write Your Own Review
You're reviewing:Nidec-Embraco 513556529-ESP Start Capacitor 270-324 MFD 165V
Your Rating
Customer Questions
What maintenance is required for the Nidec-Embraco 513556529-ESP Start Capacitor?

Regularly inspect the capacitor for swelling, leaks, or corrosion. Ensure electrical connections are tight and clean. Safely discharge the capacitor before handling. Proper maintenance ensures accurate motor starting and prevents operational interruptions.

What are common issues with the Nidec-Embraco 513556529-ESP Start Capacitor?

  • Capacitor failing to hold a charge.
  • Intermittent motor starting problems.
  • Swelling, leakage, or physical damage.
  • Buzzing or humming noises during startup.

Installation Steps

Step 1: Turn off all power to the compressor or motor before starting.

Step 2: Discharge the old capacitor to avoid electrical shock.

Step 3: Remove the existing capacitor from its mounting bracket.

Step 4: Install the new capacitor securely in the bracket, ensuring correct polarity if marked.

Step 5: Connect the wires to the appropriate terminals according to the wiring diagram.

Step 6: Restore power and test the motor to verify proper starting function.