Facebook Pixel

Robertshaw KA-1119-96 Well Thermostat

Special Price $76.58 Regular Price $88.07
In stock
SKU
KA-1119-96

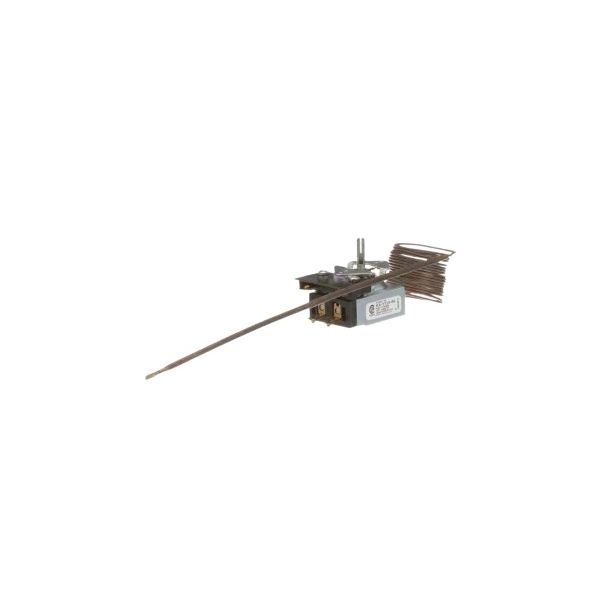
The Robertshaw KA-1119-96  Well Thermostats are a critical component in HVAC systems, particularly heating equipment, that regulates and maintains desired temperatures. The Robertshaw KA-1119-96 Well Thermostat is intended to be inserted into a well or mounting pocket within the heating equipment, allowing it to precisely measure the temperature of the surrounding environment. It is commonly used in boilers, furnaces, and water heaters to provide efficient and consistent heating performance. The Robertshaw KA-1119-96 Well Thermostat provides improved comfort, energy savings, and an extended equipment lifespan. Overall, this thermostat plays an important role in optimizing the operation of heating systems through its offerings.

https://www.partshnc.com/media/catalog/product/k/a/ka-1119-96.jpg
Manufacturer Name: Robertshaw
Product Number: KA-1119-96
OEM Part Number: KA-1119-96
Product Description: Well Thermostat
Weight:0.87lbs/394.63g

Choose the best HVAC equipment parts and supplies from PartsHnC!

  • Same Day Shipping

  • Best Quality And Best Price

  • Wide Range of Inventory

  • Best Customer Service

Have More Questions or Need Help to Place The Order?
Reach us at (866)773-0907 or [email protected]

Write Your Own Review
You're reviewing:Robertshaw KA-1119-96 Well Thermostat
Your Rating
Customer Questions
What maintenance is required for the Robertshaw KA-1119-96 Well Thermostat?

Regularly check the thermostat for dust and corrosion, ensuring the contacts are clean. Test its calibration to maintain accurate temperature control. Tighten mounting and wiring connections as needed. Always disconnect power before performing maintenance for safety.

What are common issues with the Robertshaw KA-1119-96 Well Thermostat?

  • Inaccurate temperature readings.
  • Failure to turn equipment on or off.
  • Loose or corroded electrical connections.
  • Mechanical sticking or sensor malfunction.

Installation Steps

Step1: Turn off electrical power at the breaker and shut off the gas supply.

Step2: Allow the system to cool; drain fluid from the well if required.

Step3: Remove the old thermostat and capillary bulb from the well.

Step4: Insert the new sensing bulb fully into the existing well.

Step5: Secure the mounting bracket firmly and tighten all screws.

Step6: Reconnect wiring per the diagram; ensure tight, insulated terminals.

Step7: Restore power, check for leaks, and test setpoint operation.