 Loyalty Program

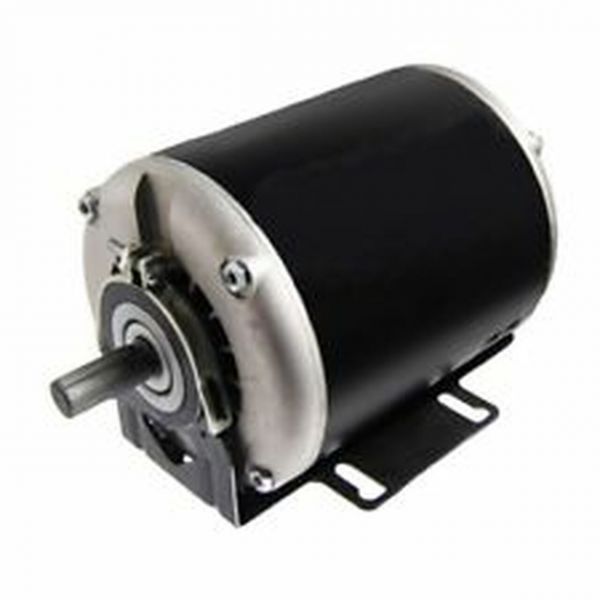
Heatcraft Refrigeration 7072102S 3/4 HP Blower Motor 1140 RPM CW/CCW 230-460V 3-Phase
Special Price $908.13 Regular Price $1,008.02
In stock
SKU
7072102S

The Heatcraft Refrigeration 7072102S 3/4HP Blower Motor is a high performance component designed for commercial HVAC systems and refrigeration systems. Three phase motor 230-460V operates at 1140 RPM with dual rotation capability CW/CCW to provide efficient airflow temperature regulation. This commonly used in walk in coolers, freezers and other refrigeration units, as it improved cooling performance and energy efficiency. It is designed for compactness, built for reliability and durability and features consistent operation in demanding environments. This design of the motor is flexible and allows the motor to be able to be installed in a variety of ways, minimizing the time and costs of maintenance and downtime. Suitable for the maintenance of ideal air circulation, extending equipment longevity even while allowing stable and efficient refrigeration performance.
Manufacturer:

Specifications
- Type: Blower
- Horsepower: 3/4HP
- Voltage: 230-460V
- Phase: 3 Phase
- Speed: 1140 RPM
- Rotation: Counterclockwise/Clockwise