Facebook Pixel

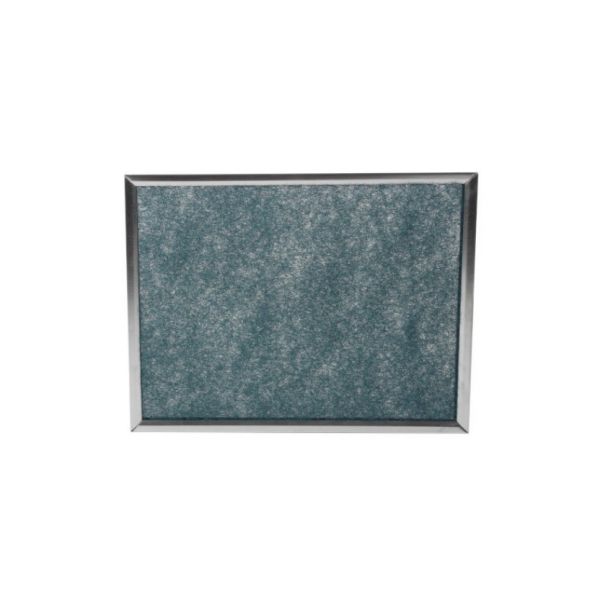
Carrier 317659-402 Fan Coil Filter 16.5" X 21.5" X 1"

Special Price $52.44 Regular Price $60.31
In stock
SKU
317659-402
The Carrier 317659-402 Fan Coil Filter 16.5 x 21.5 x 1 is an air filter that is used in the HVAC systems, which are in the fan coil units. It traps airborne particles as air flows through the coil section, which keeps air flowing and ensures internal parts are not dusted. This filter is installed in the air coming back to the house or light commercial units, and conducts the heat exchange efficiently and minimizing the load on the fans and sensors.
https://www.partshnc.com/media/catalog/product/3/1/317659-402.jpg
Manufacturer Name: Carrier
Product Number: 317659-402
OEM Part Number: 317659-402
Product Description: Filter 16.5X21.5X1
Weight:2.41lbs/1093.16g

Choose the best HVAC equipment parts and supplies from PartsHnC!

  • Same Day Shipping

  • Best Quality And Best Price

  • Wide Range of Inventory

  • Best Customer Service

Have More Questions or Need Help to Place The Order?
Reach us at (866)773-0907 or [email protected]

Write Your Own Review
You're reviewing:Carrier 317659-402 Fan Coil Filter 16.5" X 21.5" X 1"
Your Rating
Customer Questions
What maintenance is required for the Carrier 317659-402 Fan Coil Filter?

Clean the fan coil filter regularly to maintain proper airflow. This helps prevent dust buildup and reduces strain on the HVAC system. Inspect and ensure correct fit during replacement for safe operation.

What are common issues with the Carrier 317659-402 Fan Coil Filter?

  • Restricted airflow due to clogging.
  • Poor fit causing air bypass.
  • Premature wear.
  • Dust accumulation leading to uneven airflow distribution.
  • Filter deformation affecting sealing performance.

Installation Steps

Step 1: Turn off HVAC unit and disconnect power for safety before servicing.

Step 2: Open fan coil filter access panel carefully and set screws aside.

Step 3: Remove old filter and note airflow direction arrow for correct placement.

Step 4: Insert new filter matching size and airflow arrow, ensuring proper fit.

Step 5: Secure panel and restore power, ensuring all fasteners are tightened.

Step 6: Run system and check airflow for smooth, unrestricted operation.