Facebook Pixel

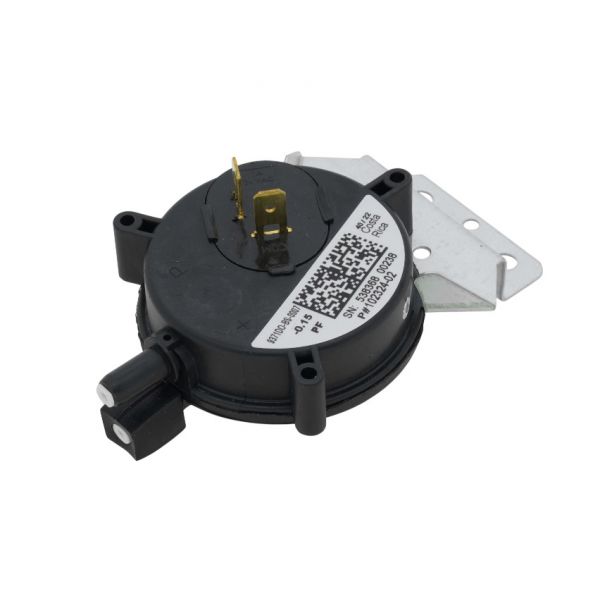
Lennox 59W40 Blower Proving Switch -0.15" WC

Special Price $43.02 Regular Price $55.93
In stock
SKU
59W40
The Lennox 59W40 Blower Proving Switch is an essential safety device of your HVAC system. It serves as a pressure switch to guarantee the proper functioning of the blower motor, safely. When the furnace or air handler is on, The blower fan forces air using ductwork in the home. This airflow causes the switch to turn on and tell the system that it is okay to turn the burners on in a furnace or to continue with the cool air circulation. the Lennox 59W40 works with a range of Lennox HVAC equipment.
Manufacturer:

https://www.partshnc.com/media/catalog/product/5/9/59w40.jpg

Specifications

  • Weight:0.17lbs
  • Measure: Unit
  • Type: Pressure Switch
  • Pressure: 0.15 Inch W.C
Manufacturer Name: Lennox
Product Number: 59W40
OEM Part Number: 59W40
Product Description: -.15 Blower Proving Switch
Weight:0.17lbs/77.11g

Choose the best HVAC equipment parts and supplies from PartsHnC!

  • Same Day Shipping

  • Best Quality And Best Price

  • Wide Range of Inventory

  • Best Customer Service

Have More Questions or Need Help to Place The Order?
Reach us at (866)773-0907 or [email protected]

Write Your Own Review
You're reviewing:Lennox 59W40 Blower Proving Switch -0.15" WC
Your Rating
Customer Questions
What maintenance is required for the Lennox 59W40 Blower Proving Switch?

Inspect the blower proving switch regularly for blocked pressure tubing, loose electrical terminals, and moisture buildup. Ensure the airflow path and venting system remain clean for accurate pressure sensing. Periodic inspection helps maintain safe furnace startup operation and prevents ignition or airflow-related faults. Disconnect power before servicing HVAC components.

What are common issues with the Lennox 59W40 Blower Proving Switch?

  • Weak or intermittent switch activation due to airflow loss.
  • Sticking contacts causing blower not to start or stop properly.
  • Misreading pressure leading to false safety shutdowns or errors.
  • Damaged tubing or clogged sensing port reducing accuracy.

Installation Steps

Step 1: Shut off power and confirm blower system is fully de-energized before servicing.

Step 2: Remove existing switch and disconnect tubing and electrical terminals, noting their positions.

Step 3: Mount the new switch securely in the original location with proper orientation.

Step 4: Reconnect pressure tubing to the correct ports and ensure airtight fit.

Step 5: Reattach electrical leads to matching terminals as per wiring diagram.

Step 6: Restore power and verify correct airflow proving and safe burner/blower operation.