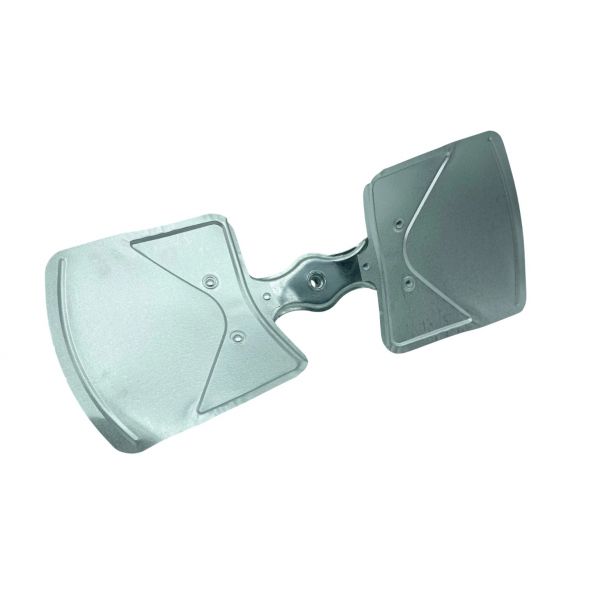
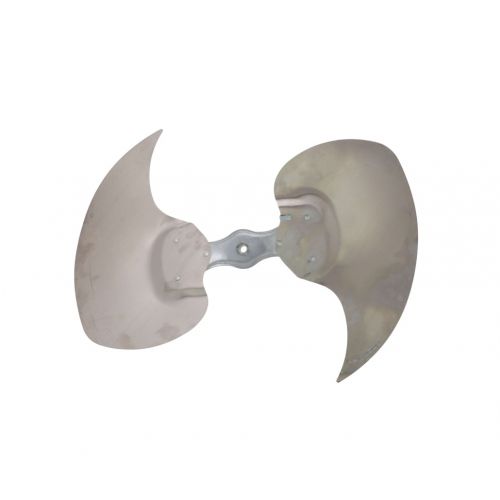
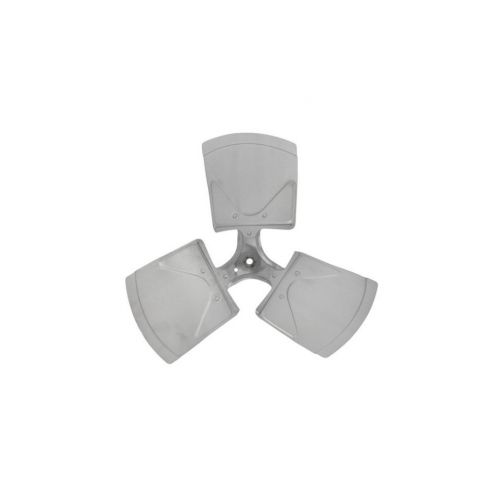
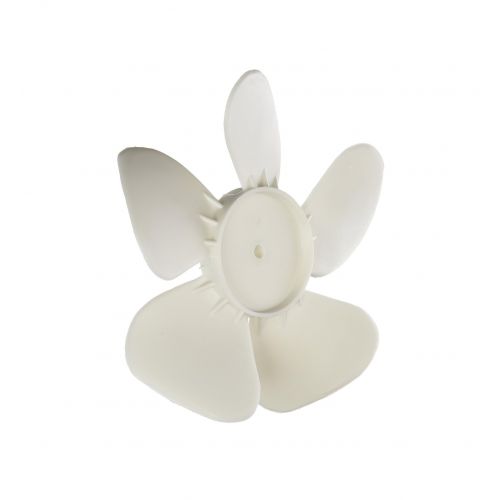
Nordyne 1024013R 24" 2-Blade Fan CW 1/2" Bore
Specifications
- Type: Fan Blade
- Diameter: 24"
- Blades: 2
- Bore: 1/2"
- Rotation: Clockwise
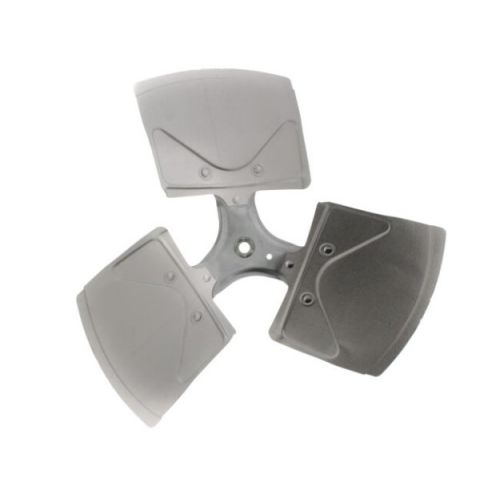
Loyalty ProgramFan assemblies provide the mechanical air movement needed within HVAC systems. The Nordyne 1024013R is a fan designed to provide the mechanical movement required by its associated equipment. Its rotating blades produce the airflow movement needed for the intended application.
Two-Blade Fan Configuration:
A two-blade fan uses its rotating blades to move air through the associated equipment. The 24-inch diameter defines the overall fan size, while the two-blade configuration determines the blade arrangement used to produce the required air movement.
Clockwise Rotation and Bore Configuration:
Clockwise (CW) rotation identifies the specified direction of fan movement. The 1/2-inch bore defines the opening used for the mechanical connection to the associated shaft. Both characteristics are important when matching the fan to the required mechanical arrangement.
Replacement Guidelines:
Replacement may be appropriate when the existing fan is damaged, deformed, develops irregular rotation, produces unusual noise or vibration, or no longer provides the necessary air movement. For the Nordyne 1024013R, replacement should be considered when the fan can no longer perform its intended mechanical function.
Common Failure Symptoms:
Equipment Compatibility:
The Nordyne 1024013R is intended for applications requiring a 24-inch, two-blade fan with clockwise rotation and a 1/2-inch bore. Before purchasing, confirm the existing part number, fan diameter, blade count, rotation, bore size, and other applicable equipment requirements.
Technical Specifications:
Part Identification:
Brand: Nordyne
Part Number: 1024013R
Product Type: 2-Blade Fan
Mechanical:
Diameter: 24 inches
Blade Count: 2
Rotation: Clockwise (CW)
Bore: 1/2 inch
Step1: Turn off electrical power to the unit and ensure the fan is stationary.
Step2: Remove the existing fan blade and clean the motor shaft.
Step3: Slide the new fan onto the motor shaft, aligning the keyway if present.
Step4: Tighten the set screw securely to prevent slipping.
Step5: Check that the fan rotates freely without obstruction.
Step6: Reconnect power and test operation, ensuring proper rotation direction.
Step7: Follow all safety precautions, keeping hands and tools clear during testing.