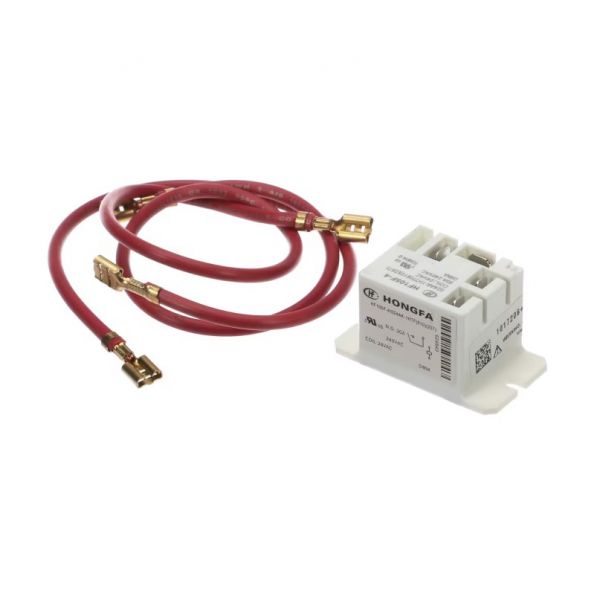
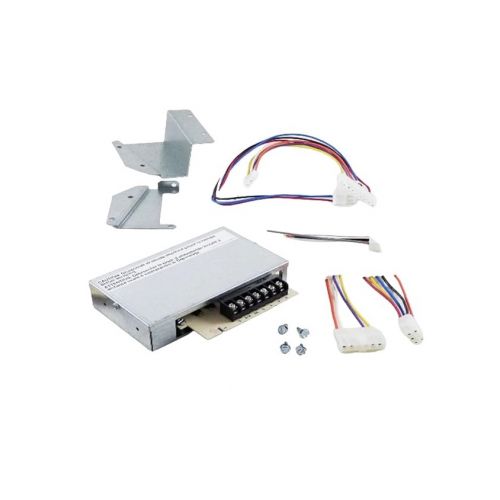
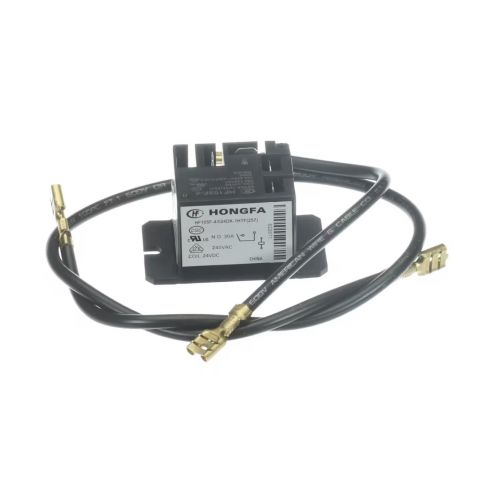
Nordyne 1017206 AC Heater Relay Kit
Specifications
- Relay Type: AC Heating Relay
- Voltage: 240V
- Coil Voltage: 24V
- Amperage: 30A
- Cicuit: SPST
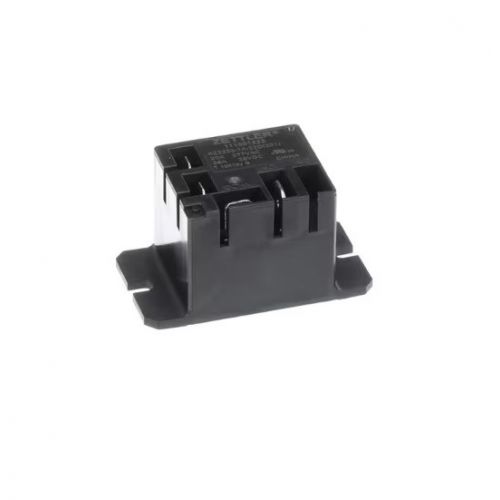
Loyalty ProgramElectrical Circuit Switching:
An electrical control signal changes the state of the relay contacts, establishing or interrupting the connection within the associated heater circuit. This switching process allows the heating circuit to respond to the equipment’s control sequence. The relay separates the control signal from the circuit being switched. This arrangement provides controlled electrical switching for the heater circuit.
Heating Cycle:
Within the HVAC heating sequence, the relay connects the electric heater circuit when the system calls for heat. The control sequence determines when the heating circuit should be energized as part of normal heat operation. When the heating demand changes, the relay responds by changing the electrical connection accordingly. This keeps heater operation coordinated with the equipment’s heating cycle.
Replacement Guidelines:
Replacement of the Nordyne 1017206 AC Heater Relay Kit is necessary when visible damage, wear, or deterioration affects the relay kit's intended switching operation. Inspect the relay kit and related connection areas for conditions that could affect proper electrical switching within the equipment. Replace the component when it can no longer maintain its intended switching operation within the AC heater assembly.
Common Signs of Wear:
Equipment Compatibility:
Nordyne 1017206 AC Heater Relay Kit is intended for designated HVAC equipment applications using an electric heating circuit that specifies this component. The exact application should be confirmed using the applicable equipment model and parts documentation.
Technical Specifications:
Brand: Nordyne
Part Number: 1017206
Component Type: AC Heater Relay Kit
Application: HVAC electric heating equipment
Step1: Turn off power to the HVAC system before beginning to avoid shock.
Step2: Open the control panel and note wiring positions before removing the old relay.
Step3: Install the new relay kit, reconnect all wires to the proper terminals, and secure mounting.
Step4: Close the panel, restore power, and test heater operation to confirm proper relay function.